
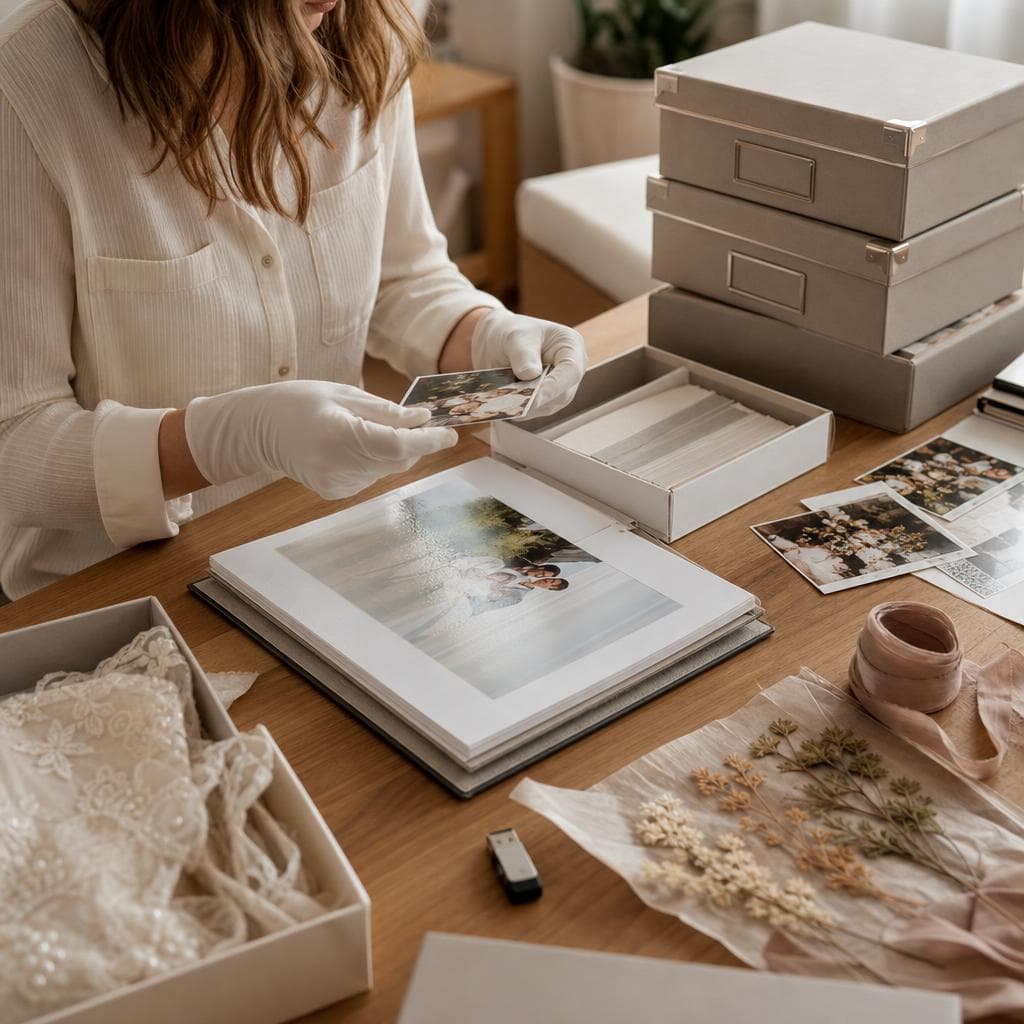
After the wedding: organize your photos and keepsakes without getting lost
Once the last guests have left, memories often arrive in waves: the photographer's gallery, videos sent by relatives, messages, cards, invitations and objects kept on a table. Gathering everything in one evening is tempting, but it is not necessary. A gradual method prevents you from losing an important file or from sharing an image without checking the rights.
Start by protecting the files
Make a backup before sorting
When you receive a gallery, download the files at the available quality and keep an intact copy. Do not rename or edit this first copy. Then create a second copy on a different medium: for example an external drive and a storage space whose terms you know. Two folders on the same computer do not constitute two backups if a disk failure affects the drive.
Note the download date, the provider's name and the announced end-of-access date. A gallery link is not necessarily permanent storage. Some services have a limited duration, and a photographer may have their own retention rules. If the contract specifies a download period, respect it; do not count on indefinite availability that was not promised.
Distinguish the formats
Separate the files delivered by the photographer, the videos, the guests' photos and scans of documents. RAW files are raw files, not universally more convenient versions. They can be large and require appropriate software. Their delivery is not automatic: it depends on the professional's practice and what the contract provides. If it is not planned, ask before you sign that you will be able to obtain them.
Sort without deleting too quickly
Create a readable folder structure
An organization by moments remains easier to find than a long sequence of device names:
- 01-preparations ;
- 02-ceremony ;
- 03-portraits-and-groups ;
- 04-cocktail-and-dinner ;
- 05-evening ;
- 06-next-day ;
- 07-videos ;
- 08-paper-souvenirs.
You can add the year, the city or initials in the folder name. Keep a simple convention for file names, for example the date followed by the moment and the author's name when known. Do not spend hours renaming each image if it discourages you: consistency matters more than perfection.
Do three passes
On the first pass, remove only unreadable files, exact duplicates and accidental captures. On the second, mark the technically correct images you would like to review. On the third, choose a short selection for your album or your sharing. Moving the discarded images into a "to-review" folder for a few weeks is safer than deleting them immediately.
Group guests' photos with the professional gallery, but preserve their origin. The photographer offers a controlled narrative; relatives bring spontaneous scenes and different viewpoints. Mixing the two without identifying them can make attribution difficult, requesting removal harder or finding a higher-quality version complicated.
Check the people and the rights
Separate private sharing from publication
Before sending a selection to the whole family, identify recognizable people and children. The fact that a photo was taken during your wedding does not equal general permission to publish it on a social network, in a portfolio or on a website. Ask the people concerned for agreement for the intended uses, and respect a removal request.
Also question the author of each image. A guest may accept a private album but refuse that their photo be cropped or reused in a communication. For an image made by the photographer, reread the contract clauses concerning distribution, credits and the provider's use. Crediting someone is a mark of respect, but it does not replace their consent.
Keep a small checklist
For images you plan to publish, note the source, the recognizable people, the authorization received and the date of verification. This list is useful when you are preparing a thank-you card or an album accessible to several families. In case of doubt, limit the use to a private circle or choose an image where people are not identifiable.
Choose what deserves an album
Build a story rather than an inventory
An album does not need to contain every successful photo. Start with images that situate the day, then add the people and the details that tell your relationship: a gesture, a decoration made by a relative or an exchange of looks. Alternate wide shots and close-ups so the pages can breathe.
You can reserve one part for the professional's gallery and another for the guests' photos, or make them interact by moment. Discreetly indicating the author in a private note will help you find authorization later. Ask for a preview before printing and check the crops, colors, text and the spelling of first names.
Do not forget the other keepsakes
Tickets, menus, vows, invitations, seating plans, dried flowers and little notes can be photographed or scanned. Keep the originals flat, away from humidity and direct light. For videos, keep the source file, a playable copy and the information needed to find the software or the format. An audio recording can be moving, but also check who can be heard on it before sharing it.
Organize a durable and reasonable sharing
Choose the space according to the use
A private album, a family folder or a gallery service do not all meet the same need. Compare the allowed size, the downloads, access rights, notifications, the announced retention duration and the ability to delete a file. Inform your relatives of the chosen rule: who can download, reshared or request the removal of an image?
Do not present a sharing space as an unlimited or permanent archive if its conditions do not guarantee it. Schedule a reminder to check access and renew the copy on your own medium. If you use a service offered by a provider, read its documentation and contract rather than assuming it will keep the memories forever.
To compare professionals before choosing an additional service, consult service providers. The DreamWeds blog also offers guides for retrieving guests' photos, creating a shared album, understanding sharing by QR code, pairing photographer and guests' photos and organizing keepsakes after the wedding.
A realistic timeline after the celebration
The first week, download and back up what is available. When you have received the delivery provided for in the contract, choose the images for the album and check authorizations. Printing can wait: a reviewed selection is better than a rushed order.
Six months later, check that the backup copy still opens and that shared links still correspond to the authorized people. You can then prepare an annual selection for relatives who were not present, with their consent. This light routine is more reliable than a promise of permanent storage or a folder left without an owner.
Frequently asked questions
How long should you keep the photos after the wedding?
Keep at least one copy of the important files as long as you want to be able to find them, and ideally several copies on different media. The retention duration of an online gallery depends on its contract and is not necessarily unlimited. Download the files before the announced date and check your own copies regularly.
Should I ask my photographer for the RAW files?
You can ask the question, but their delivery is not guaranteed. RAW files are often reserved for the professional's workflow and may not be included in the price. Check the contract: the finalized high-definition files are generally the relevant deliverable for printing, while RAW files should not be assumed to be available.
Can I put all the photos in a family album?
Not without checking the rights and consent. Identify the authors, ask for the agreement of recognizable people and distinguish a private circle from an online publication. A removal request must be respected, including after the album is created.
How to bring together the photographer's photos and those of guests?
Back them up first in separate folders, then create a common selection while keeping the source of each image. This method allows you to benefit from the coherence of the professional report and the spontaneity of relatives, without confusing delivery conditions or the rights attached to the files.
When to create the wedding album?
Wait until you have received the deliverables provided for and the important images from relatives. A first sort can start quickly, but give yourself a few weeks to review the scenes with some distance. Ask for a preview before printing to correct crops, text and photos that require authorization.
DreamWeds
Find your dream vendors
Photographers, caterers, venues and much more — compare up to 4 vendors side by side.
Discover vendorsArticles on the same topic
Wedding insurance: is it really useful?
Cancellation, bad weather, civil liability: what wedding insurance covers and when it makes sense.
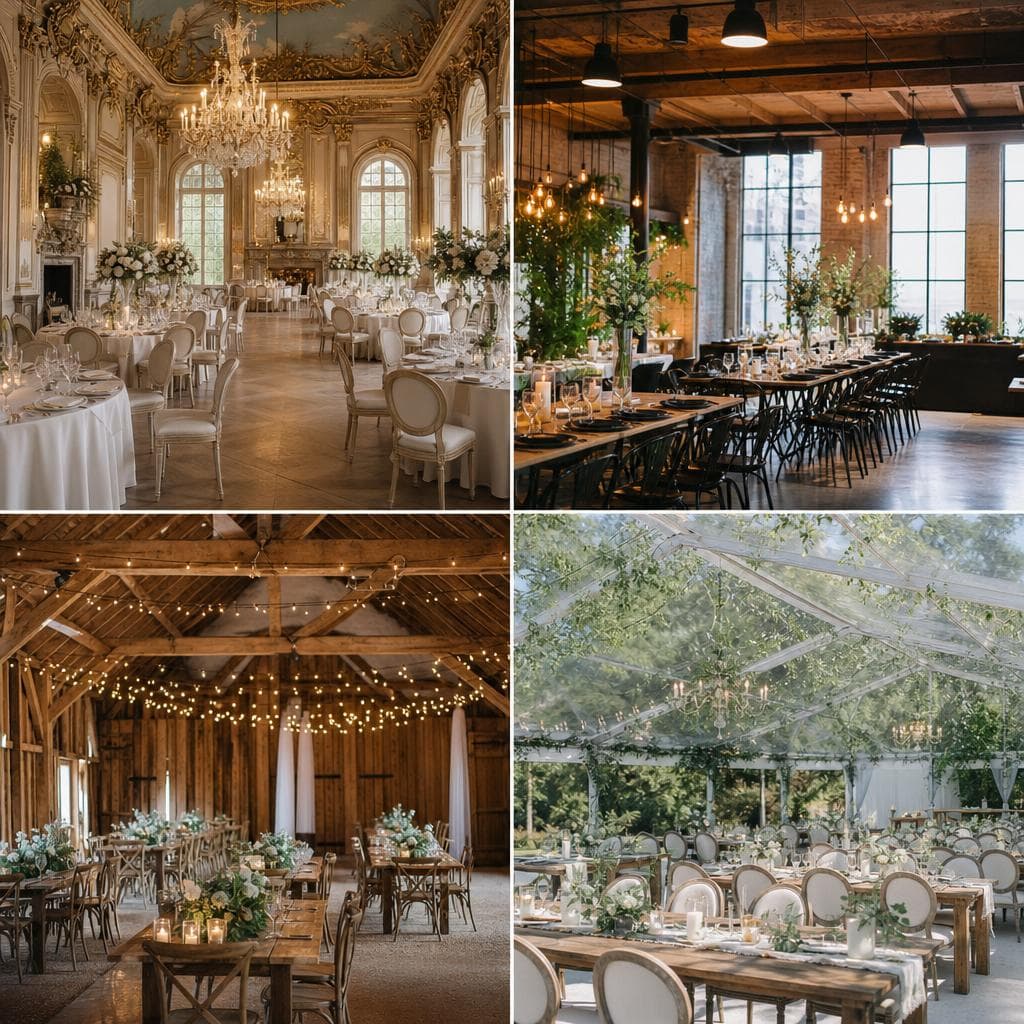
The different types of wedding venues: which one to choose?
Castle, estate, community hall, outdoor venue, urban loft: compare venue types before deciding.
Planning your honeymoon: when and how to get started?
Right after the wedding or later, budget, destination and delegation of preparations: how to plan your honeymoon calmly.